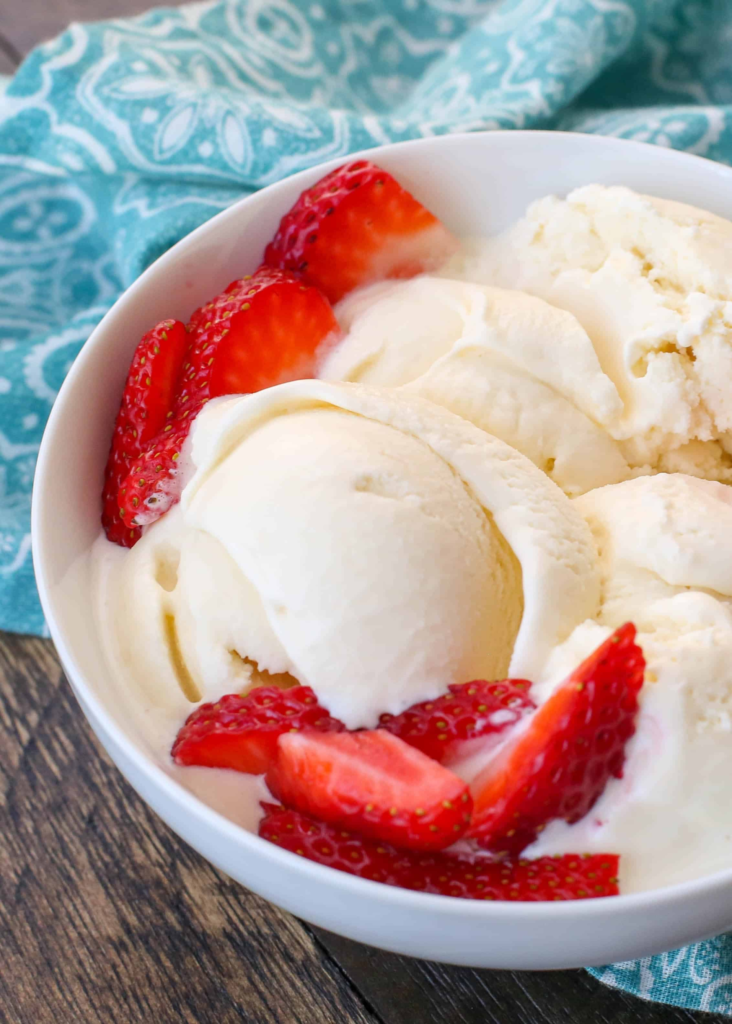

There is nothing quite as refreshing and satisfying as a bowl of creamy homemade ice cream topped with fresh strawberries. This Homemade Strawberry Vanilla Ice Cream is a simple, delicious dessert with a rich and smooth texture, a gentle vanilla flavor, and juicy strawberries in every bite. It is the perfect treat for warm summer afternoons, family gatherings, backyard parties, or whenever you are craving something sweet and refreshing.
The best thing about making ice cream at home is that you can control the ingredients and adjust the flavors to your liking. Fresh strawberries add natural sweetness and a beautiful fruity flavor, while vanilla gives the ice cream a classic creamy taste. The result is a dessert that feels special but is surprisingly easy to prepare.
You do not need complicated ingredients to make this recipe. With a handful of pantry and refrigerator staples, you can create a delicious homemade frozen dessert that everyone will love.
Why You’ll Love This Strawberry Ice Cream
This homemade ice cream has everything you want in a frozen dessert. It is creamy without being overly heavy, sweet without being too much, and packed with fresh strawberry flavor.
The strawberries can be chopped into small pieces and mixed throughout the ice cream, or you can mash some of them to create beautiful strawberry swirls. You can even reserve a few fresh berries to serve alongside each scoop.
Another great feature of this recipe is that it can be prepared ahead of time. Once the mixture is ready, simply freeze it until firm, then scoop and serve whenever you are ready for dessert.
Ingredients
For the ice cream:
- 2 cups heavy whipping cream, chilled
- 1 cup whole milk
- ¾ cup granulated sugar
- 2 teaspoons pure vanilla extract
- ¼ teaspoon salt
- 2 cups fresh strawberries
- 1 tablespoon lemon juice
- 2 tablespoons powdered sugar, optional
For serving:
- Fresh sliced strawberries
- Whipped cream
- Strawberry sauce, optional
- Chocolate shavings, optional
- Fresh mint leaves, optional
How to Make Homemade Strawberry Vanilla Ice Cream
Step 1: Prepare the Strawberries
Begin by washing the strawberries thoroughly and removing the green tops. Pat them dry with paper towels so excess water does not affect the texture of the ice cream.
Dice about half of the strawberries into small pieces. Place the remaining strawberries in a bowl and mash them with a fork or potato masher.
Add the lemon juice and powdered sugar if you are using it. Stir everything together and let the strawberries sit for about 10 to 15 minutes.
This simple step helps bring out the natural strawberry flavor and creates a delicious mixture that can be swirled through the finished ice cream.
If you prefer a smoother ice cream, you can blend all of the strawberries into a puree instead of leaving some pieces whole.
Step 2: Make the Cream Base
In a large mixing bowl, combine the heavy whipping cream, whole milk, granulated sugar, vanilla extract, and salt.
Whisk the mixture until the sugar has dissolved. There is no need to whip the cream into stiff peaks. You simply want a smooth, well-combined liquid mixture.
Taste the base and adjust the sweetness if desired. Keep in mind that freezing can slightly reduce the perception of sweetness, so the mixture should taste pleasantly sweet before freezing.
Step 3: Add the Strawberries
Gently fold the prepared strawberries into the cream mixture.
For a strawberry-filled ice cream, add the diced berries directly into the mixture. For a beautiful swirled appearance, spoon some strawberry puree into the mixture and gently swirl it with a spatula or knife.
Do not completely mix the strawberry puree if you want visible strawberry ribbons throughout the ice cream.
You can also save a small amount of the strawberry mixture to spoon over the top before freezing.
Step 4: Chill the Mixture
For the creamiest homemade ice cream, cover the bowl and refrigerate the mixture for about 1 to 2 hours before freezing.
Chilling the base helps it freeze more evenly and can improve the final texture.
If you are using an ice cream maker, make sure the machine’s freezer bowl has been frozen according to the manufacturer’s instructions.
Step 5: Churn the Ice Cream
Pour the chilled mixture into your ice cream maker and churn according to the manufacturer’s directions.
Most machines take approximately 20 to 30 minutes, but the exact time will depend on the machine.
When the ice cream becomes thick and creamy and resembles soft-serve, it is ready for the next step.
If you do not have an ice cream maker, do not worry. You can still make this dessert using a simple no-churn method.
Pour the mixture into a freezer-safe loaf pan or container and freeze. After about 45 minutes, remove it and stir thoroughly. Repeat this process every 30 to 45 minutes for several hours to help prevent large ice crystals from forming.
Step 6: Freeze Until Firm
Transfer the churned ice cream to a freezer-safe container.
Spread it evenly and spoon a little extra strawberry puree over the top if desired. Use a knife to gently swirl the puree through the ice cream.
Cover the container tightly with a lid or plastic wrap and freeze for at least 4 to 6 hours, or until firm.
For the best texture, freezing overnight is recommended.
Tips for Perfect Homemade Ice Cream
Use fresh strawberries. Choose strawberries that are ripe, fragrant, and naturally sweet. The better the strawberries, the better the ice cream will taste.
Do not add too much liquid. Strawberries contain plenty of water, so keeping the fruit balanced with the creamy base helps prevent the ice cream from becoming icy.
Chill the ingredients. Starting with cold cream and milk helps the mixture freeze more efficiently.
Do not skip the vanilla. Even though strawberry is the main flavor, vanilla adds depth and gives the ice cream that classic homemade taste.
Let it soften before scooping. Homemade ice cream can become quite firm in the freezer. Let it sit at room temperature for about 5 to 10 minutes before serving.
Delicious Variations
There are many ways to customize this strawberry ice cream.
For a strawberry cheesecake version, add small pieces of cream cheese and crushed graham crackers before freezing.
For chocolate strawberry ice cream, mix in mini chocolate chips or chopped chocolate.
You can also add crushed cookies for a fun strawberry shortcake-inspired dessert.
If you love extra fruit, add chopped raspberries or blueberries along with the strawberries.
For a tropical twist, add a little finely shredded coconut.
Another simple idea is to drizzle strawberry sauce over each scoop and finish with whipped cream and fresh berries.
How to Store Homemade Ice Cream
Store the ice cream in an airtight freezer-safe container. Press a piece of plastic wrap directly against the surface before placing the lid on top. This can help reduce the formation of ice crystals.
For the best quality and flavor, enjoy the homemade ice cream within a few weeks.
Always use a clean scoop when serving to help keep the ice cream fresh.
How to Serve
When ready to serve, allow the ice cream to sit at room temperature for a few minutes. Scoop it into bowls, cones, or dessert glasses.
Top each serving with freshly sliced strawberries for a beautiful presentation. A little whipped cream and strawberry sauce can make it even more special.
For an elegant dessert, serve two or three scoops in a chilled bowl with fresh berries around the edges. You can also add a sprig of mint for a pop of color.
Final Thoughts
This Homemade Strawberry Vanilla Ice Cream is an easy and delicious way to enjoy fresh strawberries in a creamy frozen dessert. The combination of rich cream, sweet vanilla, and juicy strawberries creates a classic flavor that is loved by both kids and adults.
Whether you make it with an ice cream maker or use the simple no-churn method, this recipe is perfect for summer celebrations, family dinners, or a relaxing evening at home.
Once you taste homemade strawberry ice cream, you may never look at store-bought ice cream the same way again. 🍓🍦 The fresh flavor, creamy texture, and beautiful strawberry swirls make every scoop completely irresistible. Serve it with fresh berries, enjoy it in a cone, or simply eat it straight from the bowl—either way, this is a homemade dessert worth making again and again!